Imitating the Canvas Engine (11): Directional and Gaussian Blur
Previous Post:
Imitating the Canvas Engine (10): Light Direction Transformations - Memories of Melon Pan
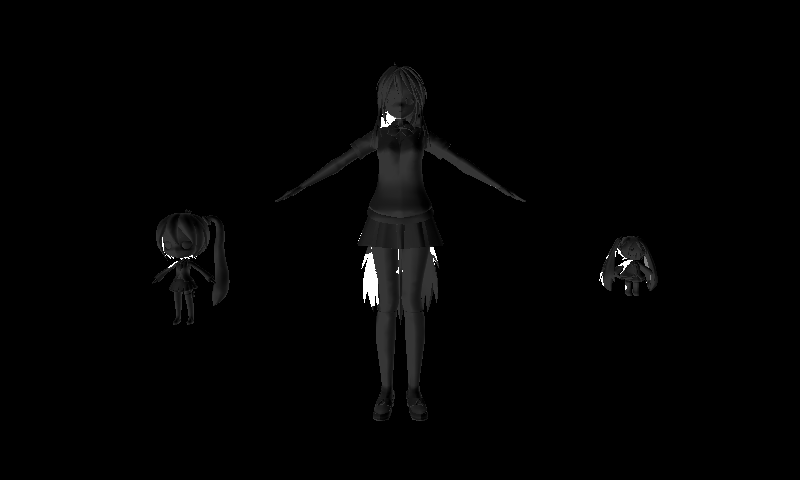
Ultimately, our scene shadow mask will tell us where to put shadows and how much. Since we want to have the shadows bleed off the edges of the model though, we still have to tinker with it.
Thing is, we also want to soften the edges of this shadow map. If we don't, our shadow fill texture will cut off abruptly which might look somewhat jarring. A Gaussian blur immediately pops into mind for that, and for our shadow bleed effect, a directional blur (also called a motion blur) will probably do the trick.
Directional blur sounds simple, and in its most simple form it is. I was actually second guessing myself on how to do it until I saw an article in GPU Gems that said what I was thinking was basically the right thing.
So it's probably the same thing you're thinking, too: for each pixel, move back in the opposite direction of the blur, sampling a number of times along the way. Average all the colors you get (including the one you started with), and you get the new output color of the pixel. We already calculated the direction and distance we want to blur, so we can pass that as an effect parameter in HLSL and do our calculations.
That's real basic directional blur, but it isn't perfect. If you don't have enough samples, the image will tend to be jaggy, especially if your shader language limits the number of loops you can do. Here's a close up of Neru if the number of samples is pathetic. You can see the jaggies.
There are probably other ways you could smooth things out when using directional blur, but we know we have to use Gaussian blur some time. That alone should be enough to smooth the shadow map, so after we get our output from our directional blur, we use that as the input texture for our Gaussian blur. We can just reuse the function we made for blurring depth maps if we want to save us some code.
Imitating the Canvas Engine (2): Normal Maps and Depth Blur - Memories of Melon Pan
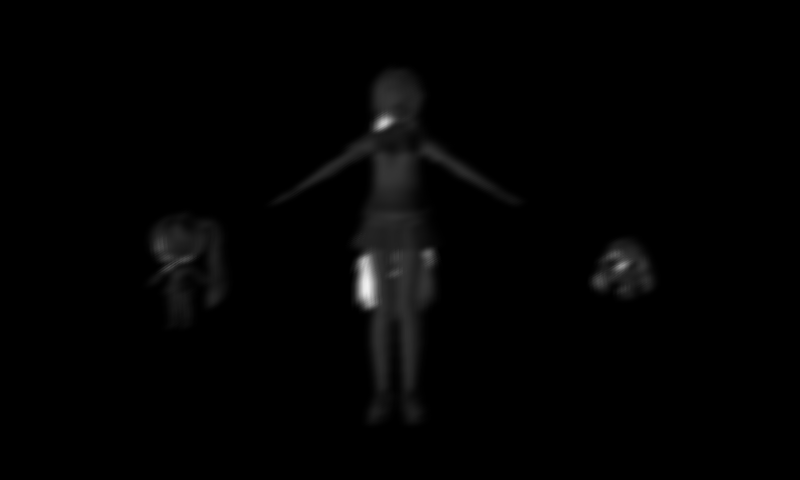
After applying the two blurs, our scene shadow map looks a lot better.
This is the last transformation we'll do using shadow maps. The only thing left is to apply the shadows, and we're done!
Next Post:
Imitating the Canvas Engine (12): Applying the Shadow Fill Effect - Memories of Melon Pan


