Imitating the Canvas Engine (6): Edge Rendering
Previous Post:
Imitating the Canvas Engine (5): Basic Edge Detection - Memories of Melon Pan
Now, I've written a lot about detecting edges, and working with a texture that only contains the normal and depth information in the scene, so it's easy to forget... we actually can have the scene completely rendered and waiting for edges to be drawn on top of it. In fact, that's what we want, since then we'll know two things about the pixel we're on.
- The scene color
- The edge difference score
The simplest thing to draw edges is to simply replace the scene color with whatever color you want your edge to be. We can go with black for some really hard, defined borders.
If the difference score D is greater than or equal to some threshold T, then color pixel black. Otherwise, draw scene color.
You're free to choose whatever value of T you think will do... heck, you could even color your edges green or yellow, but you can get some ugly looking edges if you choose a bad number.
So we can soften everything up a bit. Let's define an edge intensity I, which is how dark our edges can get. There won't be any formula to figure out the value of I, it's just an arbitrary number we play with until we get something that looks right.
C = Cs * (1 - (D * I))
For the variables:
- C, Final output color
- Cs, Original scene color
- D, Difference score
- I, Edge intensity
As a basic case, if the edge intensity I equals 1.0, and the difference score D is pretty close to 1.0, then the pixel will end up being black... or so close to it, most people wouldn't be able to tell the difference.
From here, we can just play with the edge intensity to get the look that we want. I've noticed that edges in Valkyria Chronicles are most easily spotted around the face, where they're greyish in color... but when looking at the pastel blue uniforms, they're barely even noticeable. So we can soften the edges in the screen by lowering the edge intensity to something like 0.4. The brightest colors in the scene will have the most obvious borders, and will look slightly greyish. On the other hand, darker colors... well, when multiplying a very small number by (1 - 0.4) = 0.6 doesn't change it by much, the edge there won't stand out at all.
That still isn't everything, though. I've also noticed that edges seem to have some sort of texture or graininess to them. You can see the edges in the scene best when they're in the uncolored border of the screen, and if you play around with the camera, you might notice certain edge pixels being darker than others. This leads me to believe there's another texture that they use to give their edges a rough, penciled in look, and that edges are overlaid on that texture before being drawn on the screen.
I made a scratch texture to try to imitate this effect in GIMP, which was really nothing more than me filling a picture with one of the genero patterns it comes with, and maxing out the contrast.
And if we want to put this texture to use, we'll have to modify our edge rendering function. This is the last edit, I swear.
C = Cs * (1 - (D * I * Ce))
For the variables:
- C, Final output color
- Cs, Original scene color
- D, Difference score
- I, Edge intensity
- Ce, Color of the edge texture at the same texture coordinates as the scene pixel
... Which leaves us with this.
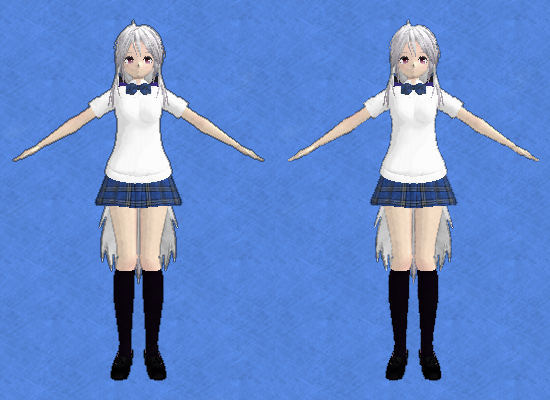
Just in case it's kinda hard to see what happened to the edges, here's a comparison pic of just Haku. The left is softened edges only, the right is with the edge texture applied.
And a close-up of what happens at the borders, with the edge texture. Neru is partially rendered here, and you can see the texture on the edge pretty clearly.
Yes, this literally is one extra line of code once you get past all that edge detection code and have a difference score. Two if you count the texture look up, and a little bit more if you include extra declarations. When you get down to it, the rendering itself can be quite simple once you figure out all the variables you need.
Strangely enough though, depth blurring doesn't seem to affect edges at all. If you play around with moving a very far object in and out of the colored section of the canvas, you'll notice that the edges aren't blurred when they're the only thing shown at the edge of the screen. Keeping close track of that edge when the object is moved back into color, it looks like the edge stays unblurred and the object's color bleeds out of it.
Valkyria Chronicles renders only edges at the sides of the screen without adding coloring, and those edges aren't affected by blurring. If we want to mimic this, we can just apply the edge rendering algorithm after we've blurred and canvased.
Next Post:
Imitating the Canvas Engine (7): Basic Shadow Mapping - Memories of Melon Pan


